When Perspex suits an interior sign
Perspex works well where the sign needs to look smart, stay light in weight and handle daily cleaning. In reception areas, passageways, meeting rooms and retail interiors, it gives a neat finish without the bulk of heavier board materials. It also suits spaces where you want a flat surface for vinyl, printed graphics or cut lettering.
For Durban sites, Perspex is often chosen because it copes well with humidity and regular use. In air-conditioned offices it keeps a crisp look, and in shopfronts it can be mounted behind the counter or against a wall without taking up much space. If the area gets strong sun through glass, we look at UV exposure and choose the right thickness and fixing method.
- Good for reception logos, wayfinding, room names and brand panels
- Can be clear, coloured, frosted or backed with vinyl
- Easy to wipe down with a soft cloth and mild cleaner
- Suitable for wall mounting, stand-off fixing or panel layering
Clear, coloured or frosted: how to choose
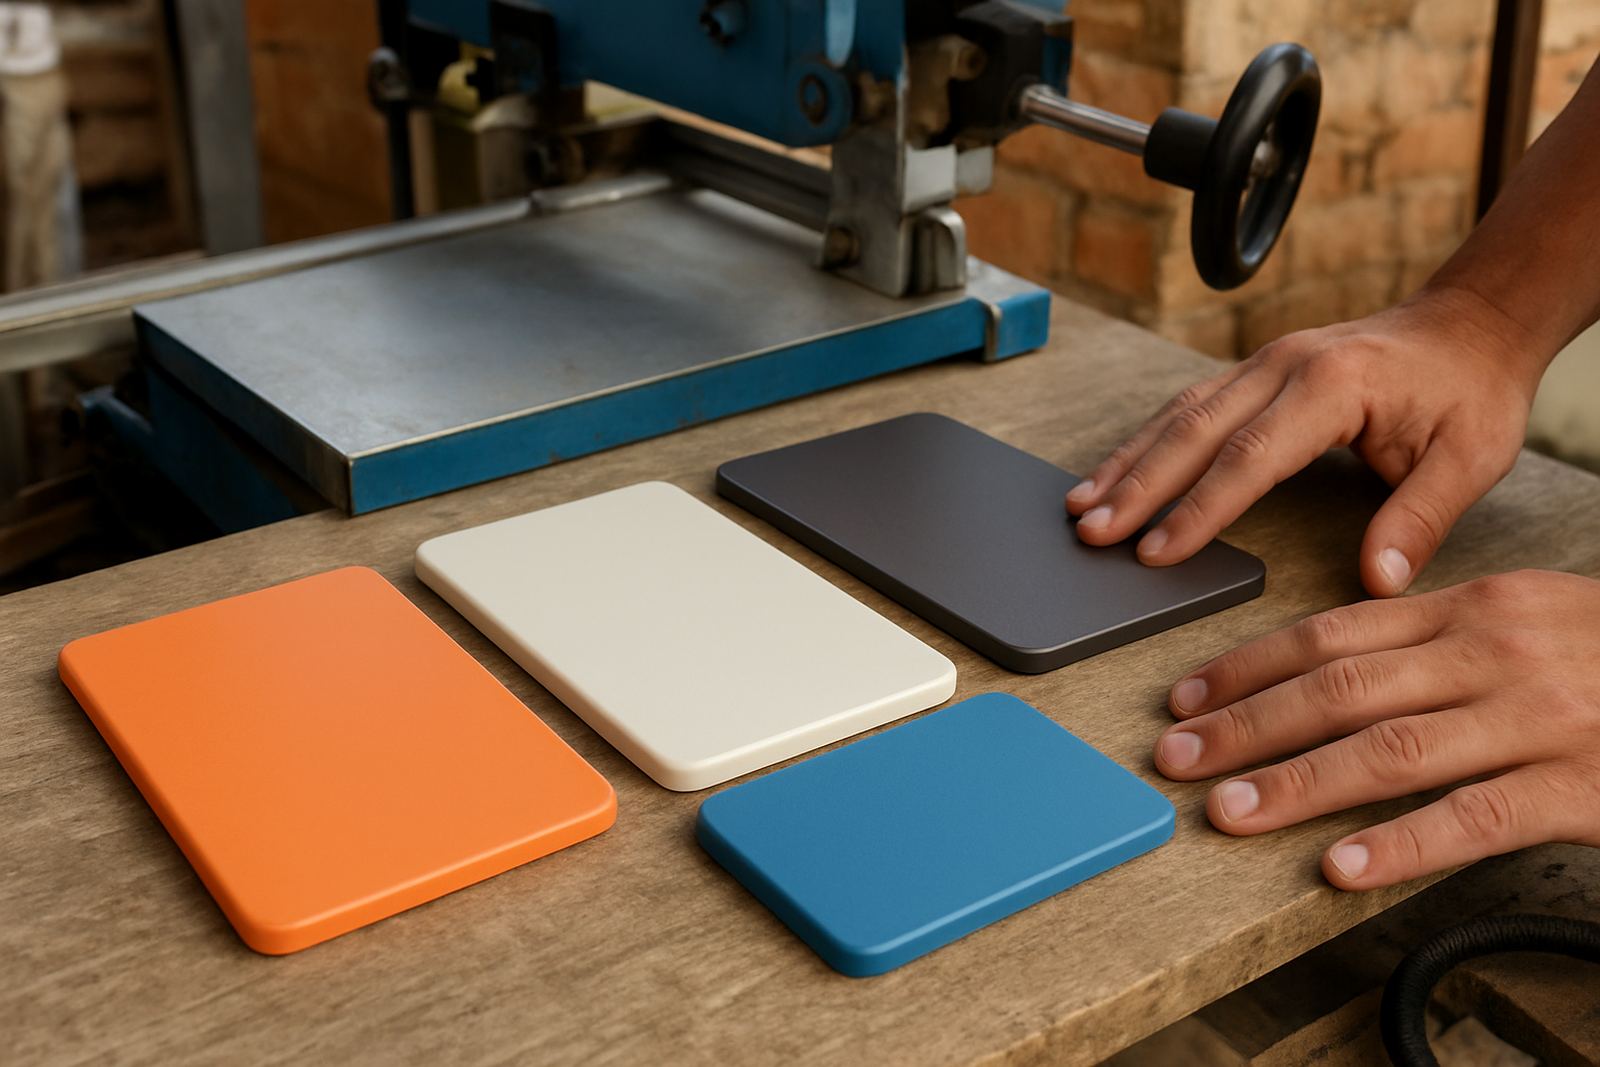
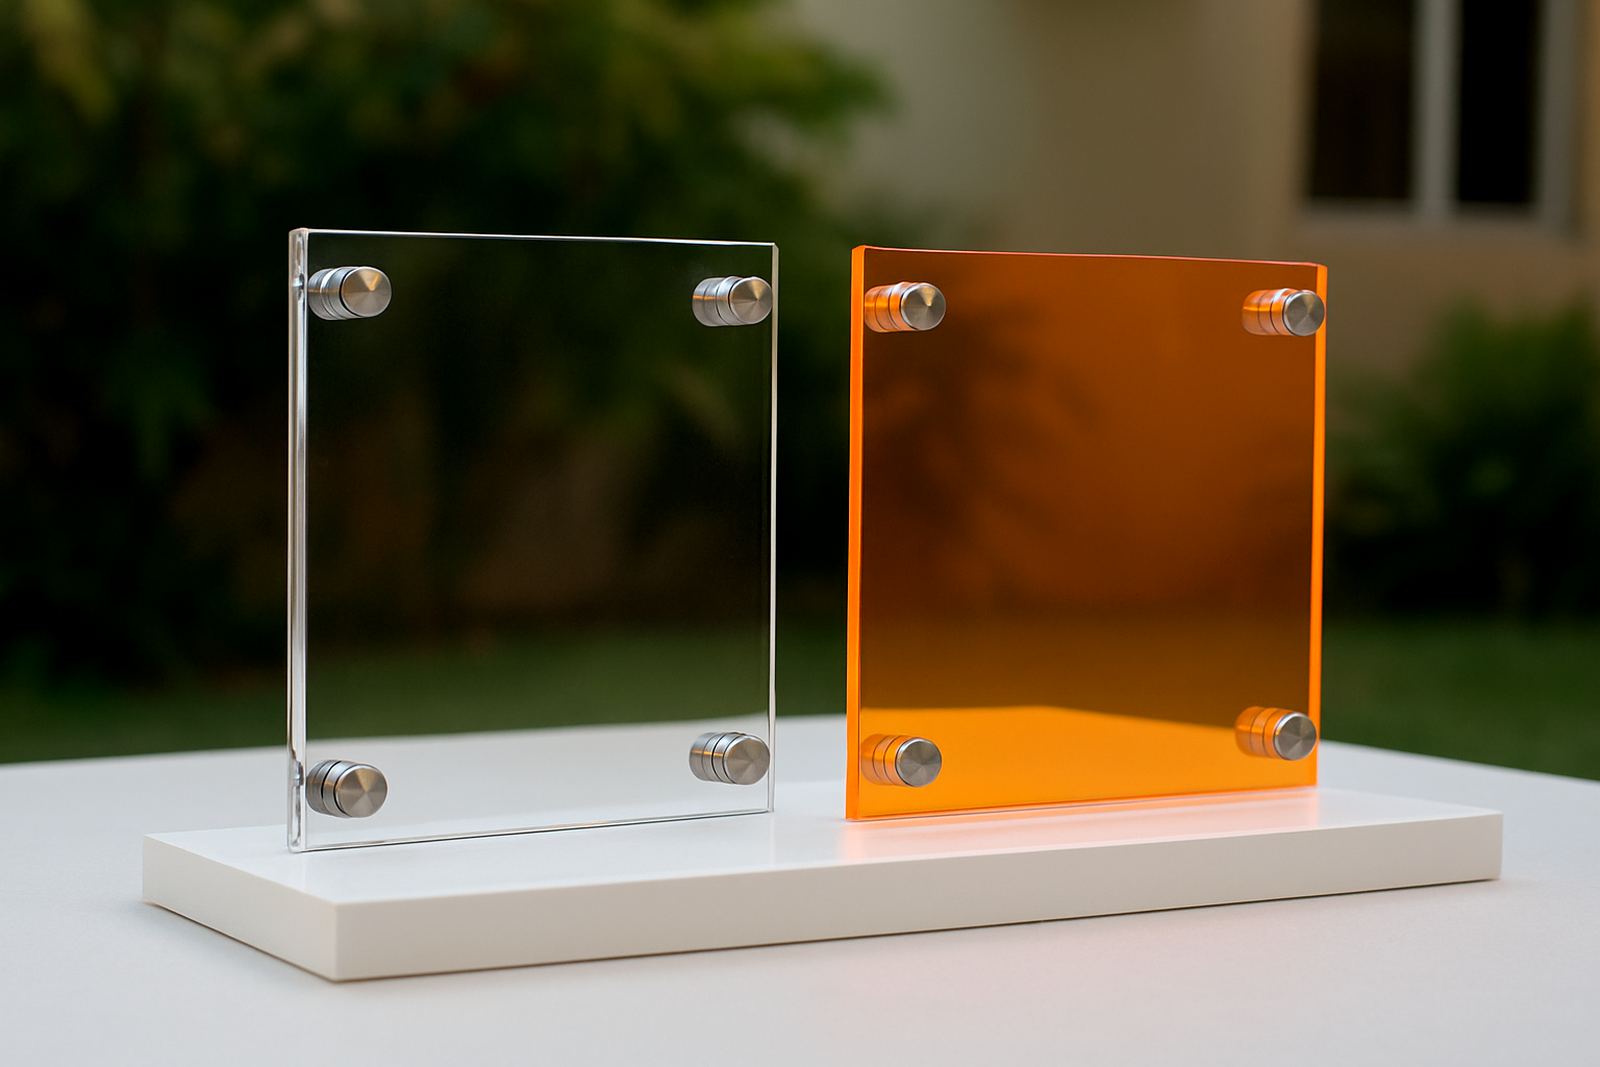
Clear Perspex gives a modern, floating look, especially when fitted with stand-off studs or mounted over a printed backing. It works well for office branding where you want the wall colour to show through. Coloured Perspex is stronger visually and can carry your brand colour more directly, which helps in retail areas or branded counters.
Frosted Perspex is a practical middle ground. It softens light, hides busy wall textures and can be used for privacy branding on interior glass. If you need your logo to stand out, frosted panels with cut vinyl lettering are a tidy choice. For a stronger contrast, we may add white or dark vinyl to improve readability from a distance.
- Clear: best for a light, premium look
- Coloured: best for stronger brand colour matching
- Frosted: best for privacy, soft light and glass partitions
- Printed backing: best where the wall finish is uneven or dark
Mounted Perspex options and fixing methods
The way a Perspex sign is mounted affects both the look and the lifespan. Smaller panels can be fixed flush to the wall, while larger feature signs often need stand-off fittings for a cleaner finish. In busy spaces, a raised mount also makes cleaning easier because dust does not sit around the edges as much.
For interior branding we usually check the wall surface first. Plaster, painted brick, tile and partition board all need different fixings. If the wall is uneven, we may use spacers or a backboard to keep the sign level. On tiled walls, we plan the drilling points carefully so the fixing line stays neat and the panel sits square.
- Flush mount for simple room labels and direction signs
- Stand-off mount for reception logos and feature walls
- Backboard mount for uneven walls or layered branding
- Adhesive fixing where the surface and load allow it
A good rule is to size the sign so it can be read from the normal viewing point, not only up close. In a reception area, a logo panel often works best when the width is matched to the counter or wall section behind it.
Steps to plan a Perspex sign properly
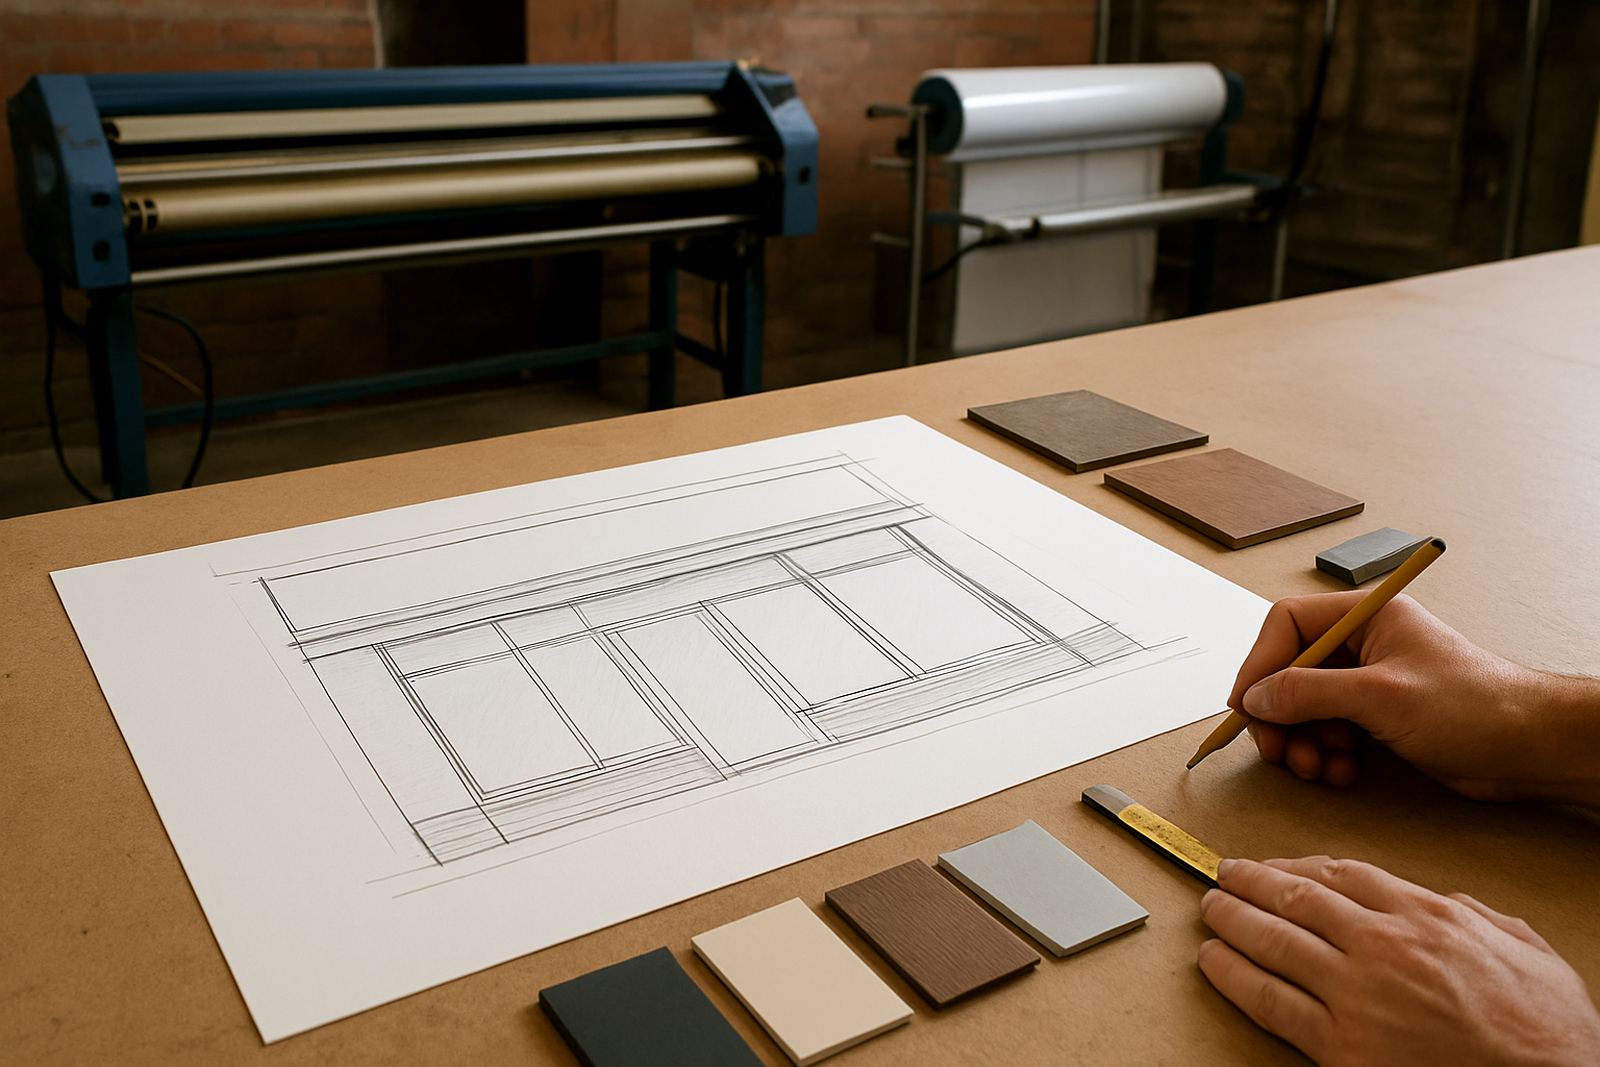
Before production, we start with a site survey or clear measurements. That helps with wall size, viewing height, lighting and the route to the installation point. We also check whether the sign must fit around fire equipment, doors, alarms or municipal safety notices. In commercial premises, these details matter because the sign must look good and still leave access clear.
Once the size is confirmed, we prepare the artwork, choose the thickness and decide on the finish. A simple logo may need one layer, while a more detailed feature sign may use layered Perspex, printed vinyl and cut lettering. If the sign is going into a coastal area, we also consider moisture, salt air and how often the area gets cleaned.
- Measure the wall or glass area accurately
- Confirm viewing distance and lighting
- Choose clear, coloured, frosted or layered construction
- Check fixing points and access for installation
- Approve artwork, spelling and logo spacing before production
Keeping Perspex signs clean and presentable
Perspex is easy to maintain, but it does need the right cleaning method. A soft microfibre cloth and mild soap solution is usually enough. Harsh solvents can cloud the surface, and abrasive cloths can scratch it. In places with regular hand contact, such as reception counters or retail entrances, a simple monthly wipe-down keeps the finish looking sharp.
If the sign is near an entrance that gets dust or sea air, check the fixings and edges from time to time. In some Durban buildings, condensation can build up when air-conditioning is running hard and the doors are opened often. That is normal, but it means the sign should be installed with enough ventilation and the right adhesive or spacers so moisture does not trap behind it.
Clear checklist before you order
Choosing the right Perspex sign is easier when you work through a short checklist. It saves time on site and helps avoid redraws, wrong sizes or fixing delays. If you are fitting more than one sign across a premises, it also keeps the whole project consistent from reception to passageway to boardroom.
- What is the purpose: branding, privacy or direction?
- Is the sign for a wall, glass panel or counter front?
- Do you want clear, coloured, frosted or printed backing?
- Will it be read close up or from across the room?
- Are there lighting, moisture or cleaning issues to allow for?
- Does the wall allow drilling, or is adhesive fixing better?
- Do you need one sign or a set for several rooms?
If you are unsure, a site survey is the safest first step. That gives a practical view of measurements, fixings and the best finish for your space. It also helps if the sign needs to match other branding like window frosting, vinyl graphics or a shopfront panel.